
Hey tech aficionados! The Celestia network is reshaping the blockchain landscape and just landed in Mainnet so it's time you got on board. Join us as we delve into the intricacies of Celestia and guide you step-by-step in setting up a light node.
What is Celestia?
Celestia is a modular data availability network that scales securely with its user base, making it easier for anyone to launch their own blockchain. It introduces the concept of modular blockchains, which decouples execution from consensus, allowing for more scalable and efficient systems. This is achieved by reducing consensus to atomic broadcast and introducing a new primitive called data availability sampling.
Traditional blockchains, known as monolithic blockchains, combine several functions like execution, settlement, consensus, and data availability into one layer. This often limits their throughput. Celestia, on the other hand, adopts a modular approach, separating these functions into specialized layers, allowing each layer to be optimized for its specific function. This not only increases throughput but also offers flexibility in how these layers can be arranged. Learn more about monolithic vs. modular blockchains.
Setting Up a Light Node with Persistant Storage on the Mainnet
Now, let's get our hands dirty and set up a Celestia light node on the Mainnet using Docker. Docker is a fantastic tool that lets you run applications in isolated environments, making it super easy to get started with Celestia.
1. Install and Start Docker
Ensure you have Docker desktop installed and launched. If not, follow these instructions.
2. Create a Storage Directory
To prevent data from being lost when you stop your Docker container, we need to attach a volume to the Docker container. Simply create a directory on your machine called for instance celestia-node-store:
cd $HOME mkdir celestia-home-store
3. Initialize the Node and Store your Private Keys
We are almost there! Before starting our Celestia light node, let's initialize the node and get your private keys details. Copy paste the following command in your console:
docker run -e NODE_TYPE=light -e P2P_NETWORK=celestia \ -v $HOME/celestia-node-store:/home/celestia \ ghcr.io/celestiaorg/celestia-node:v0.12.0 \ celestia light init --p2p.network celestia
Make sure to use the right path to your volume in the -v option.
In case you want to run a light node for another network like Mocha or Arabica tesnets, adjust the P2P_NETWORK value to mocha or arabica.
The following message should be printed in your console, containing your private keys and mnemonic. Write it down on a paper, store it in a safe place and never give it to anyone!

4. Start your Node
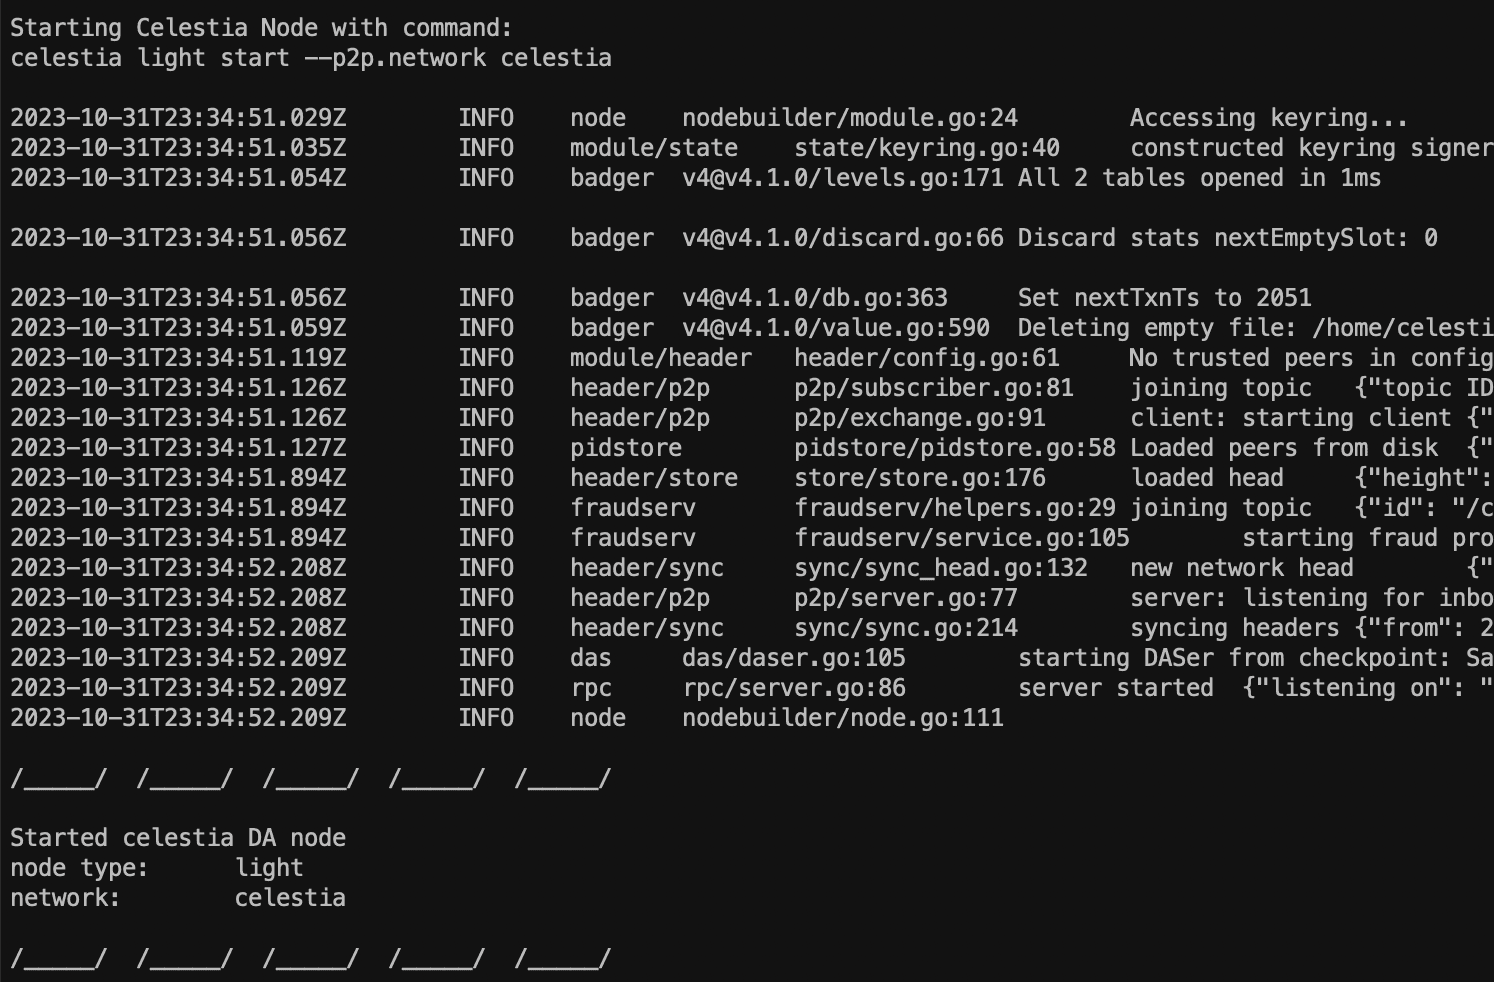
Here is the final command to start your light node and actively participate in Celestia's data availability network:
docker run -e NODE_TYPE=light -e P2P_NETWORK=celestia \ -v $HOME/celestia-node-store:/home/celestia \ ghcr.io/celestiaorg/celestia-node:v0.12.0 \ celestia light start --p2p.network celestia
Congratulations! 🎉 You now have a Celestia light node running with persistent storage.
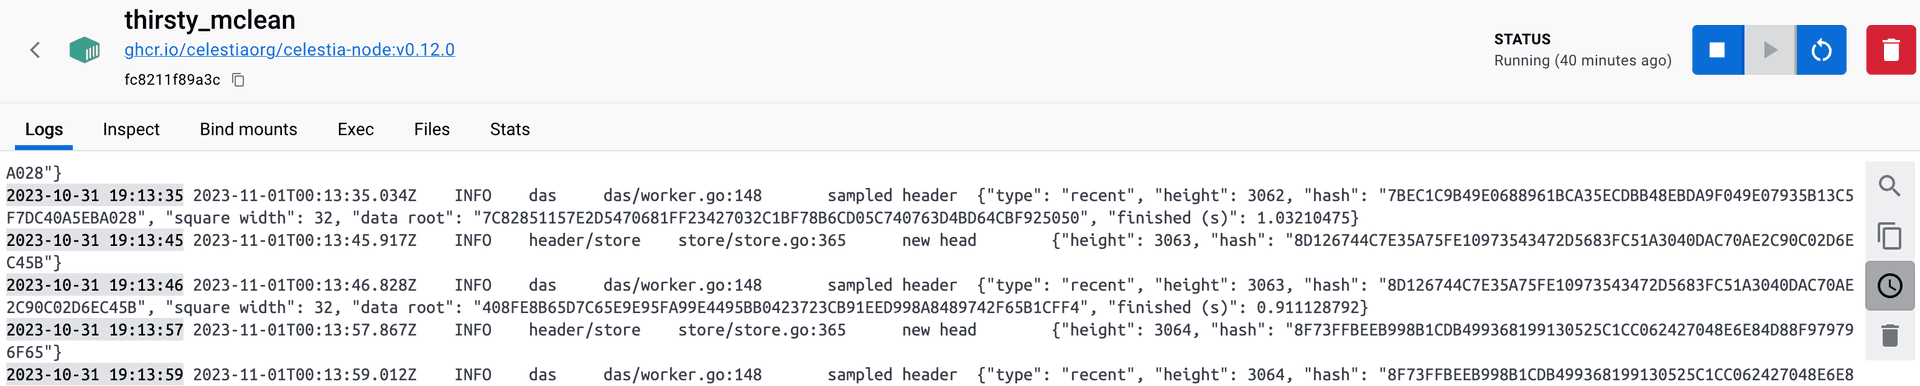
You can easily manage your Docker container from Docker Desktop. For instance, you can directly start / turn off the container from the user friendly interface using passing through the console.
Hope you enjoyed this tutorial! 🎉 By setting up a light node, you've not only expanded your technical prowess but also become a part of a revolutionary movement in the decentralized world. The Celestia network, with its innovative approach to data availability and modular blockchains, is poised to redefine the boundaries of what's possible in the blockchain ecosystem.