Hello, fellow enthusiasts! If you're reading this, you're probably as excited about blockchain as I am. Today, we're going to take a significant step in our blockchain validator journey by setting up a Virtual Private Server (VPS) on DigitalOcean. Don't worry if this sounds daunting; I promise to keep things simple and jargon-free!
Why DigitalOcean?
DigitalOcean is one of the leading cloud infrastructure providers, known for its simplicity and cost-effectiveness. For blockchain enthusiasts like us, it offers a reliable platform to experiment, learn, and grow.
The easy way to start your VPS
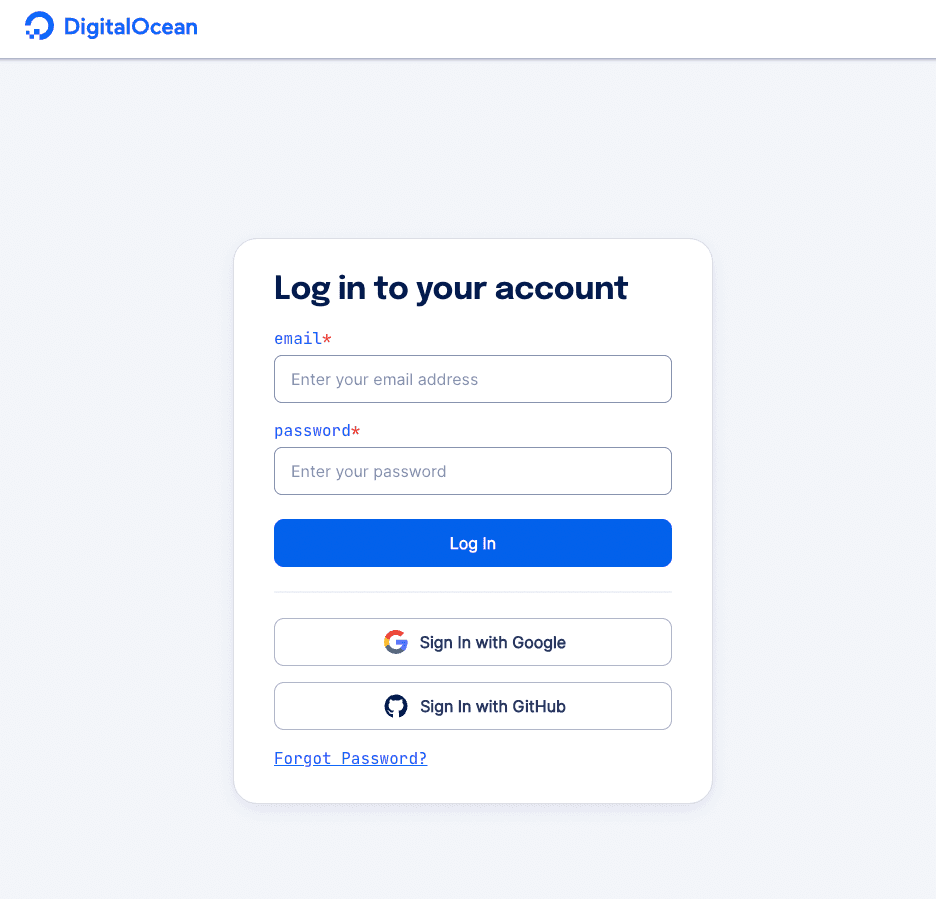
1. Sign Up & Login
First things first, head over to DigitalOcean's website (you get $200 free credit with this referal link!). If you're new, sign up; otherwise, log in.
2. Create a Droplet
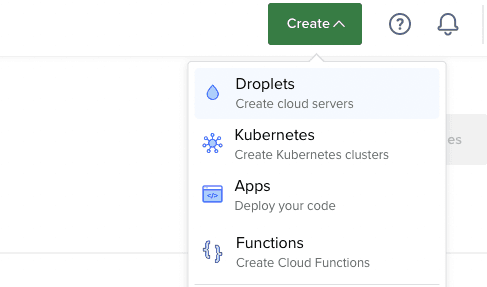
In DigitalOcean lingo, a 'Droplet' is essentially your VPS. Click on the 'Create' button, followed by 'Droplets'. Here, you'll be presented with various configuration options.
3. Choose Your Configuration
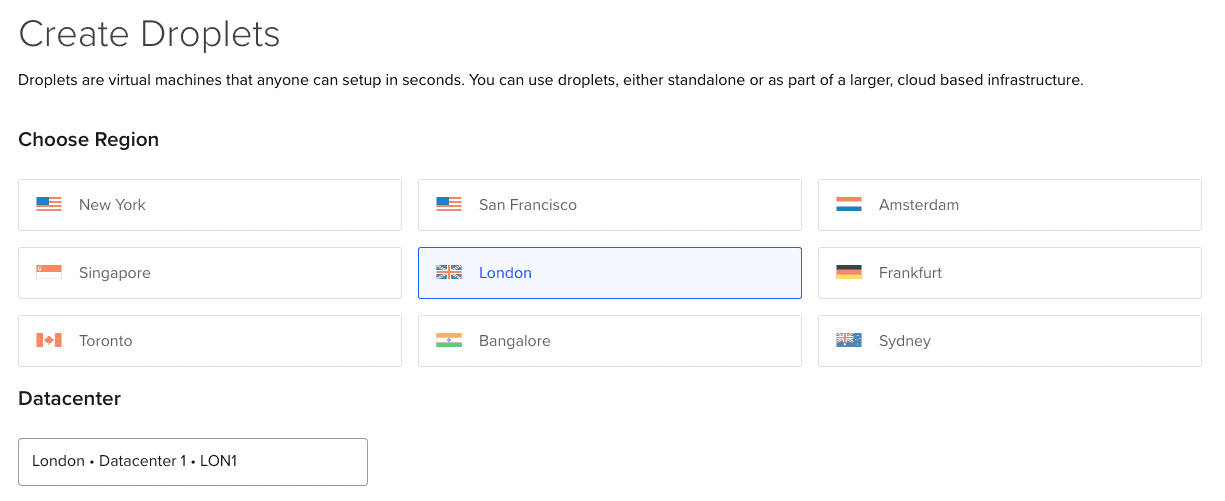
- Choose a data center region closest to you (or closest to your end user) for optimal performance
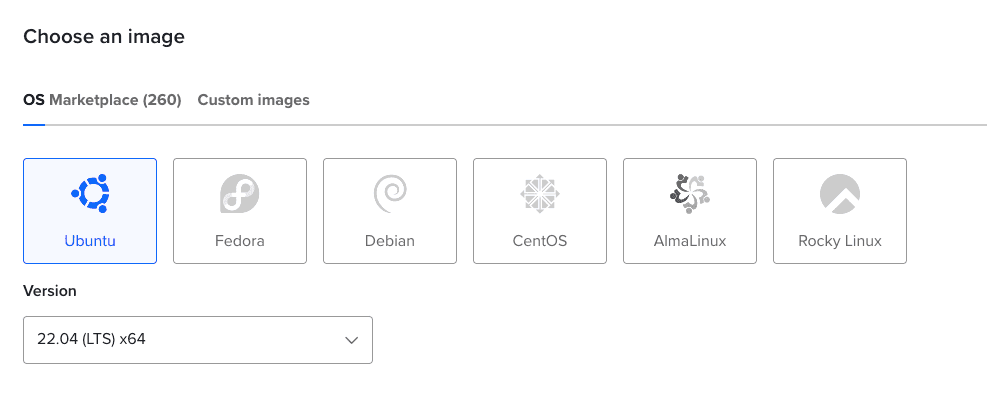
- Select an OS: I prefer Ubuntu with the latest LTS version, 22.04 at the time of writing.
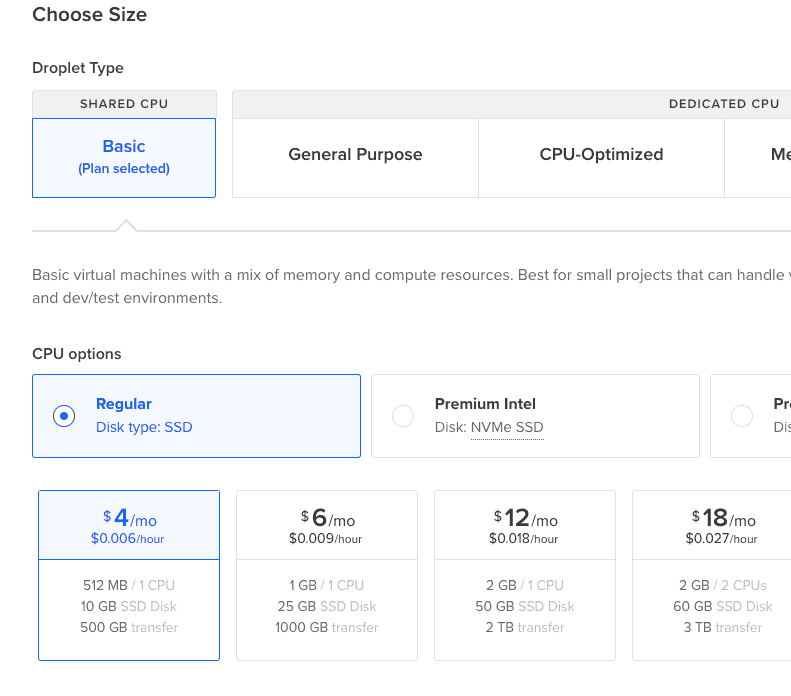
- Pick a server size: for our blockchain validator journey, I recommend starting with the Basic plan (Share CPU) with Regular SSD disk. As you grow, you can always scale up.
4. Attach your SSH Keys to the Droplet
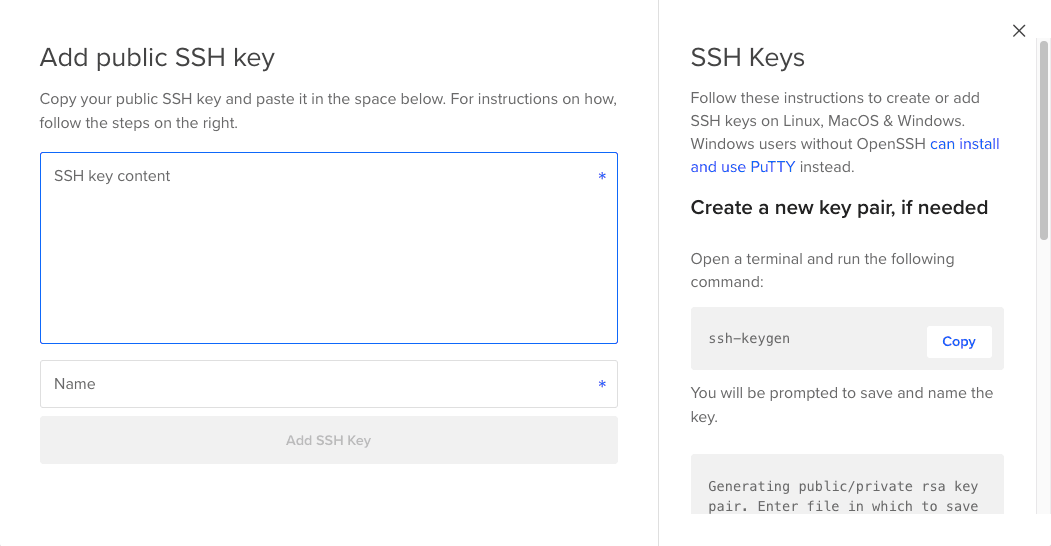
You now need to set up SSH keys to securely access your VPS remotely. Sounds like Chinese to you? Don't get scared here, just click "New SSH keys" and carefully follow the instructions given on the right side of the modal panel. You can read more about how to setup your SSH keys here.
5. Additional Options & Setup
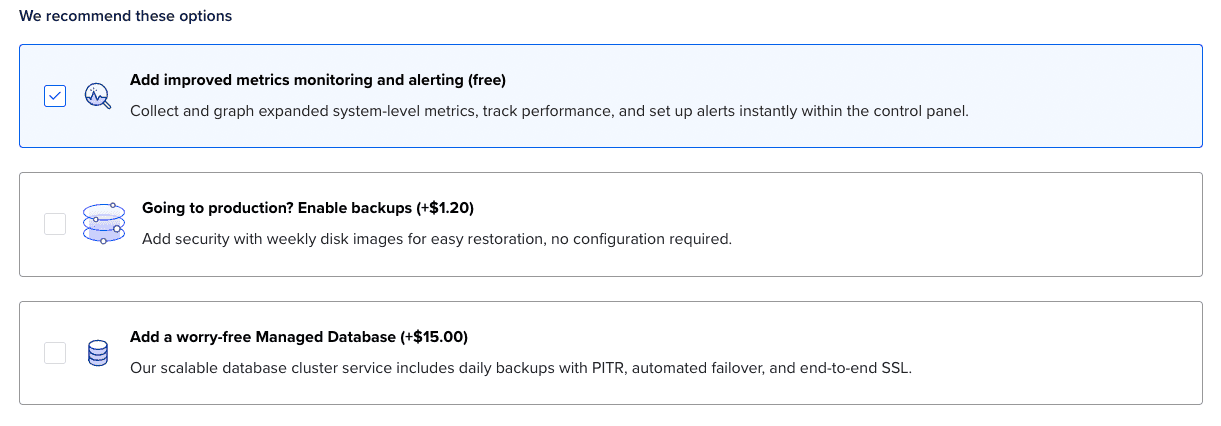
You'll find additional options like backups, monitoring, database or extra volume. I only recommend selecting monitoring (it's free). Finally, create a new project and assign it to your droplet.
6. Launch & Celebrate!
Click the "Create Droplet" button. In a few moments, your VPS will be up and running. Congratulations!

In Conclusion
Setting up a VPS on DigitalOcean is more than just carving out a personal space in the digital realm; it's the foundational step towards building a validator node in the blockchain ecosystem. A validator node is crucial for ensuring the integrity and functionality of a blockchain network.
By starting with a VPS, you're not just dipping your toes into the blockchain waters; you're gearing up to play a pivotal role in the decentralized future. As you embark on this journey, remember that every validator node begins with a reliable and secure server. So, here's to the first of many steps in your blockchain adventure. Until next time, happy building!
