
Welcome, budding blockchain enthusiasts! If you've successfully set up your VPS on DigitalOcean and are eager to run a blockchain validator node, you're in for a treat. This article will guide you step-by-step in enhancing your server's security. Let's dive right in!
Connect to your VPS through SSH
To perform all the following security and enhancement steps, we first need to gain access to our server using ssh. Open a new Terminal, and type the following command and enter the passphrase:
ssh -i .ssh/id_rsa root@[your-digitalocean-vps-ip] > Enter passphrase for key '/Users/Billy/.ssh/id_rsa':
The path after the -i option corresponds to the location where you stored your public and private keys when you initiated your SSH keys.
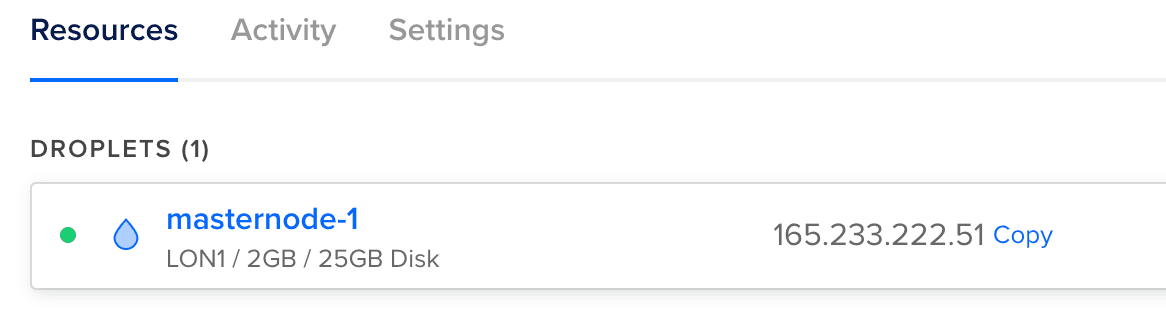
You need to replace [your-digitalocean-vps-ip] by the IP of your DigitalOcean droplet; you can find it in the Droplets list in your project dashboard.
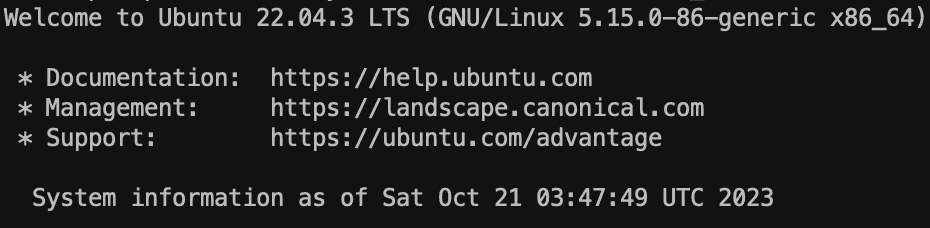
If everything goes well, you will see a warm welcome message from Ubuntu and some technical details about your VPS:
Let's start fortifying your VPS
1. Update your Linux packages
Let's do update and upgrade of your Linux server first. Type this command in your terminal:
sudo apt-get update -y && apt-get upgrade -y
2. Keep Prying Hands Off Root Access:
Root access is powerful but risky. Let’s create a new administrative user newadmin (pick a different name ideally!) and disable root login for security.
sudo adduser newadmin sudo usermod -aG sudo newadmin
You will be asked to set up a password and provide some optional information about this user. Once done, type the following command:
visudo
It will open a text file, navigate until the line root ALL=(ALL:ALL) ALL and copy below newadmin ALL=(ALL:ALL) ALL
# User privilege specification root ALL=(ALL:ALL) ALL newadmin ALL=(ALL:ALL) ALL
To save your your changes, type CTRL-S then CTRL-X on Windows or Control-X then Y (Yes) on Mac.
We have now correctly given admin rights to your newadmin, type the following command to finish this step:
su newadmin sudo apt-get update -y
3. Changing the default SSH configuration
It is time to give SSH access to our newadmin: Type the following command:
su newadmin cd ~ mkdir .ssh chmod .ssh touch .ssh/authorized_keys nano .ssh/authorized_keys
In the text editor that will open, paste your public SSH key (normally in id_rsa.pub) that looks like ssh-rsa AAWAB0NzaC7fDEAAAADWEDSFWAABgQC8r7PtOoU2... and exit the file saving your changes (same commands as above).
Update the access rights for the file:
chmod 600 authorized_keys
Next, let's change a few settings in the SSH configuration file. To open it, type the command (we also create a back up of this file just in case):
cp /etc/ssh/sshd_config /etc/ssh/sshd_config_bak nano /etc/ssh/sshd_config
You have now opened the sshd_config file. Use the keyboard directional keys to navigate in the file and set the value of Port to 2222, PermitRootLogin to no, X11Forwarding to no, . Exit and save.
Let's restart the ssh service with the command:
service ssh restart
To test if everything has been set correctly, open a new terminal and try to connect through SSH on the new port 2222 and with the newadmin username:
ssh -p 2222 -i .ssh/id_rsa newadmin@[your-vps-ip]
Once this test is successful, you can open the sshd_config file again and set the parameter PubkeyAuthentification to yes and PasswordAuthentification to no.
4. Shield Against Brute Force with Fail2Ban
Fail2Ban watches login attempts and bans suspicious IPs. Install it:
sudo apt-get install -y unzip && apt-get install -y fail2ban sudo systemctl enable fail2ban sudo systemctl start fail2ban
Open the following file:
nano /etc/fail2ban/jail.local
Paste this content then save the file:
[sshd]
enabled = true
port = 22.2222
filter = sshd
logpath = /var/log/auth.log
maxretry = 3
Finally restart the fail2ban service:
systemctl restart fail2ban
5. Erect a DigitalOcean Firewall
Head over to the DigitalOcean control panel. On the left sidebar menu, select "Networking", then the "Firewalls" tab. Click "Create Firewall".
In Inbound Rules, delete the entry that allows SSH connection through port 22. Then, add a rule for ICMP (to be able to ping your server) and a Custom TCP rule on port 2222.
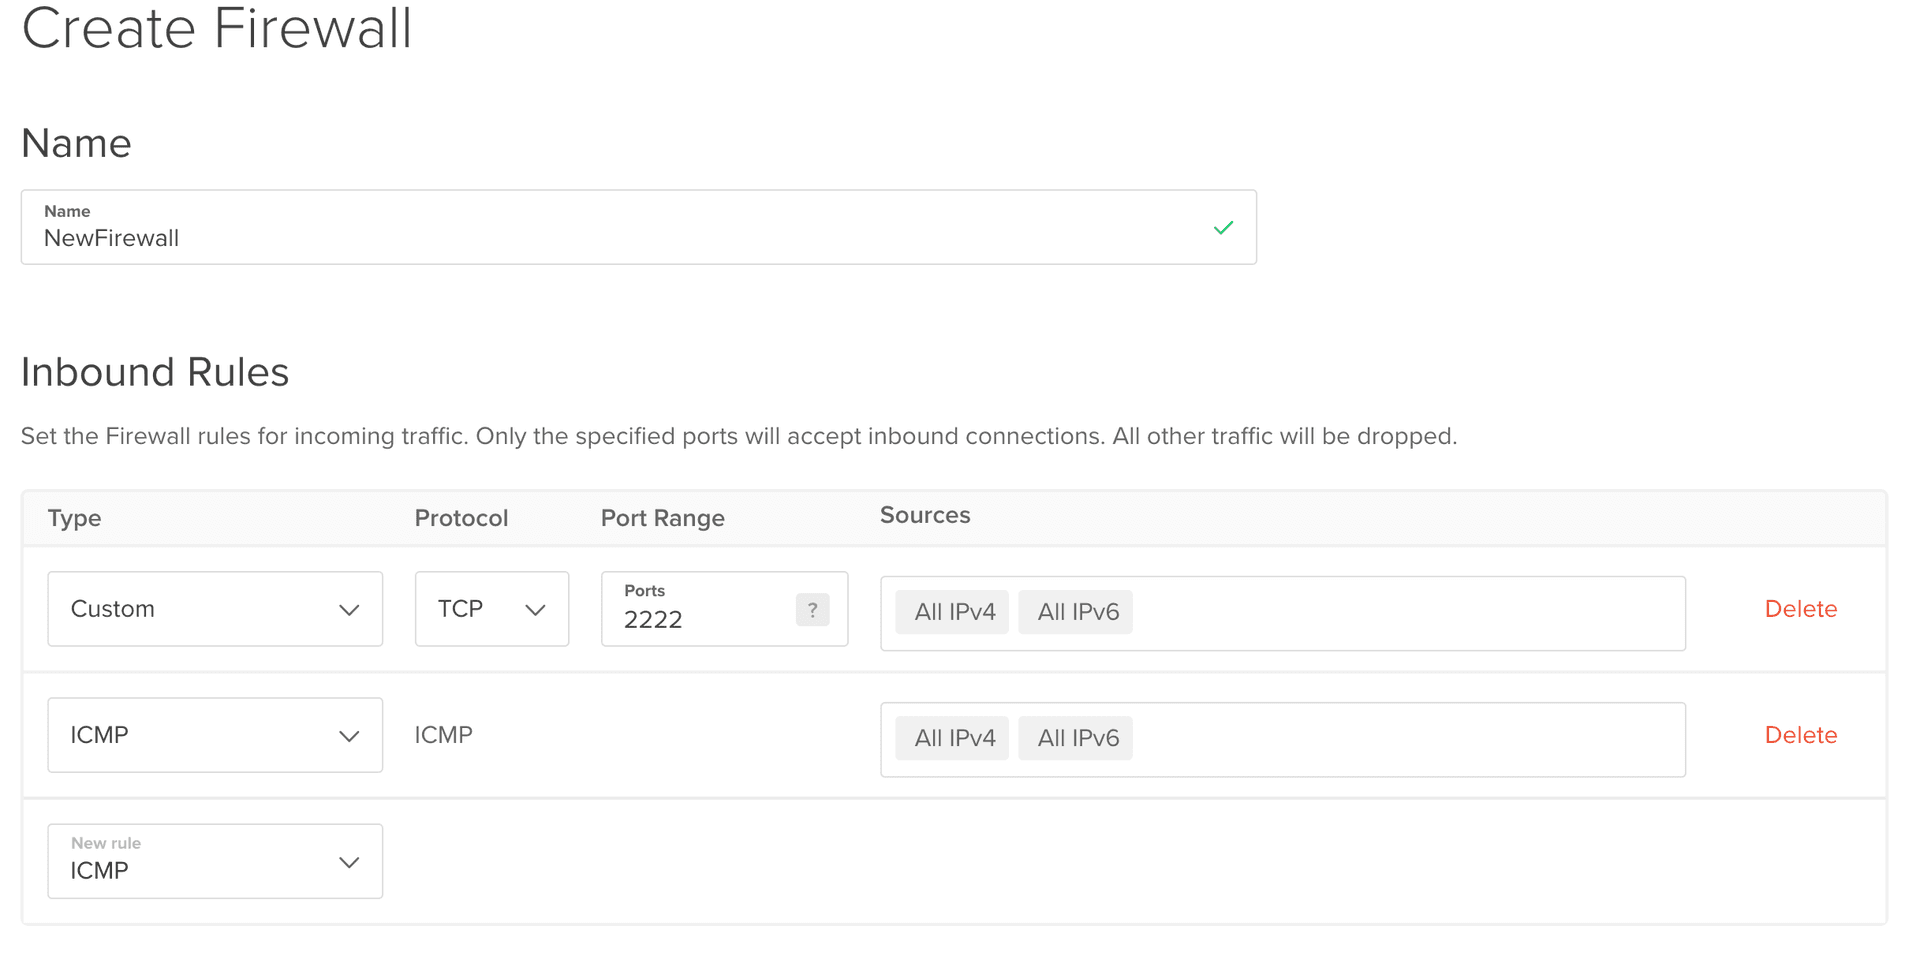
Attach this firewall to your existing droplet and save, your are done!
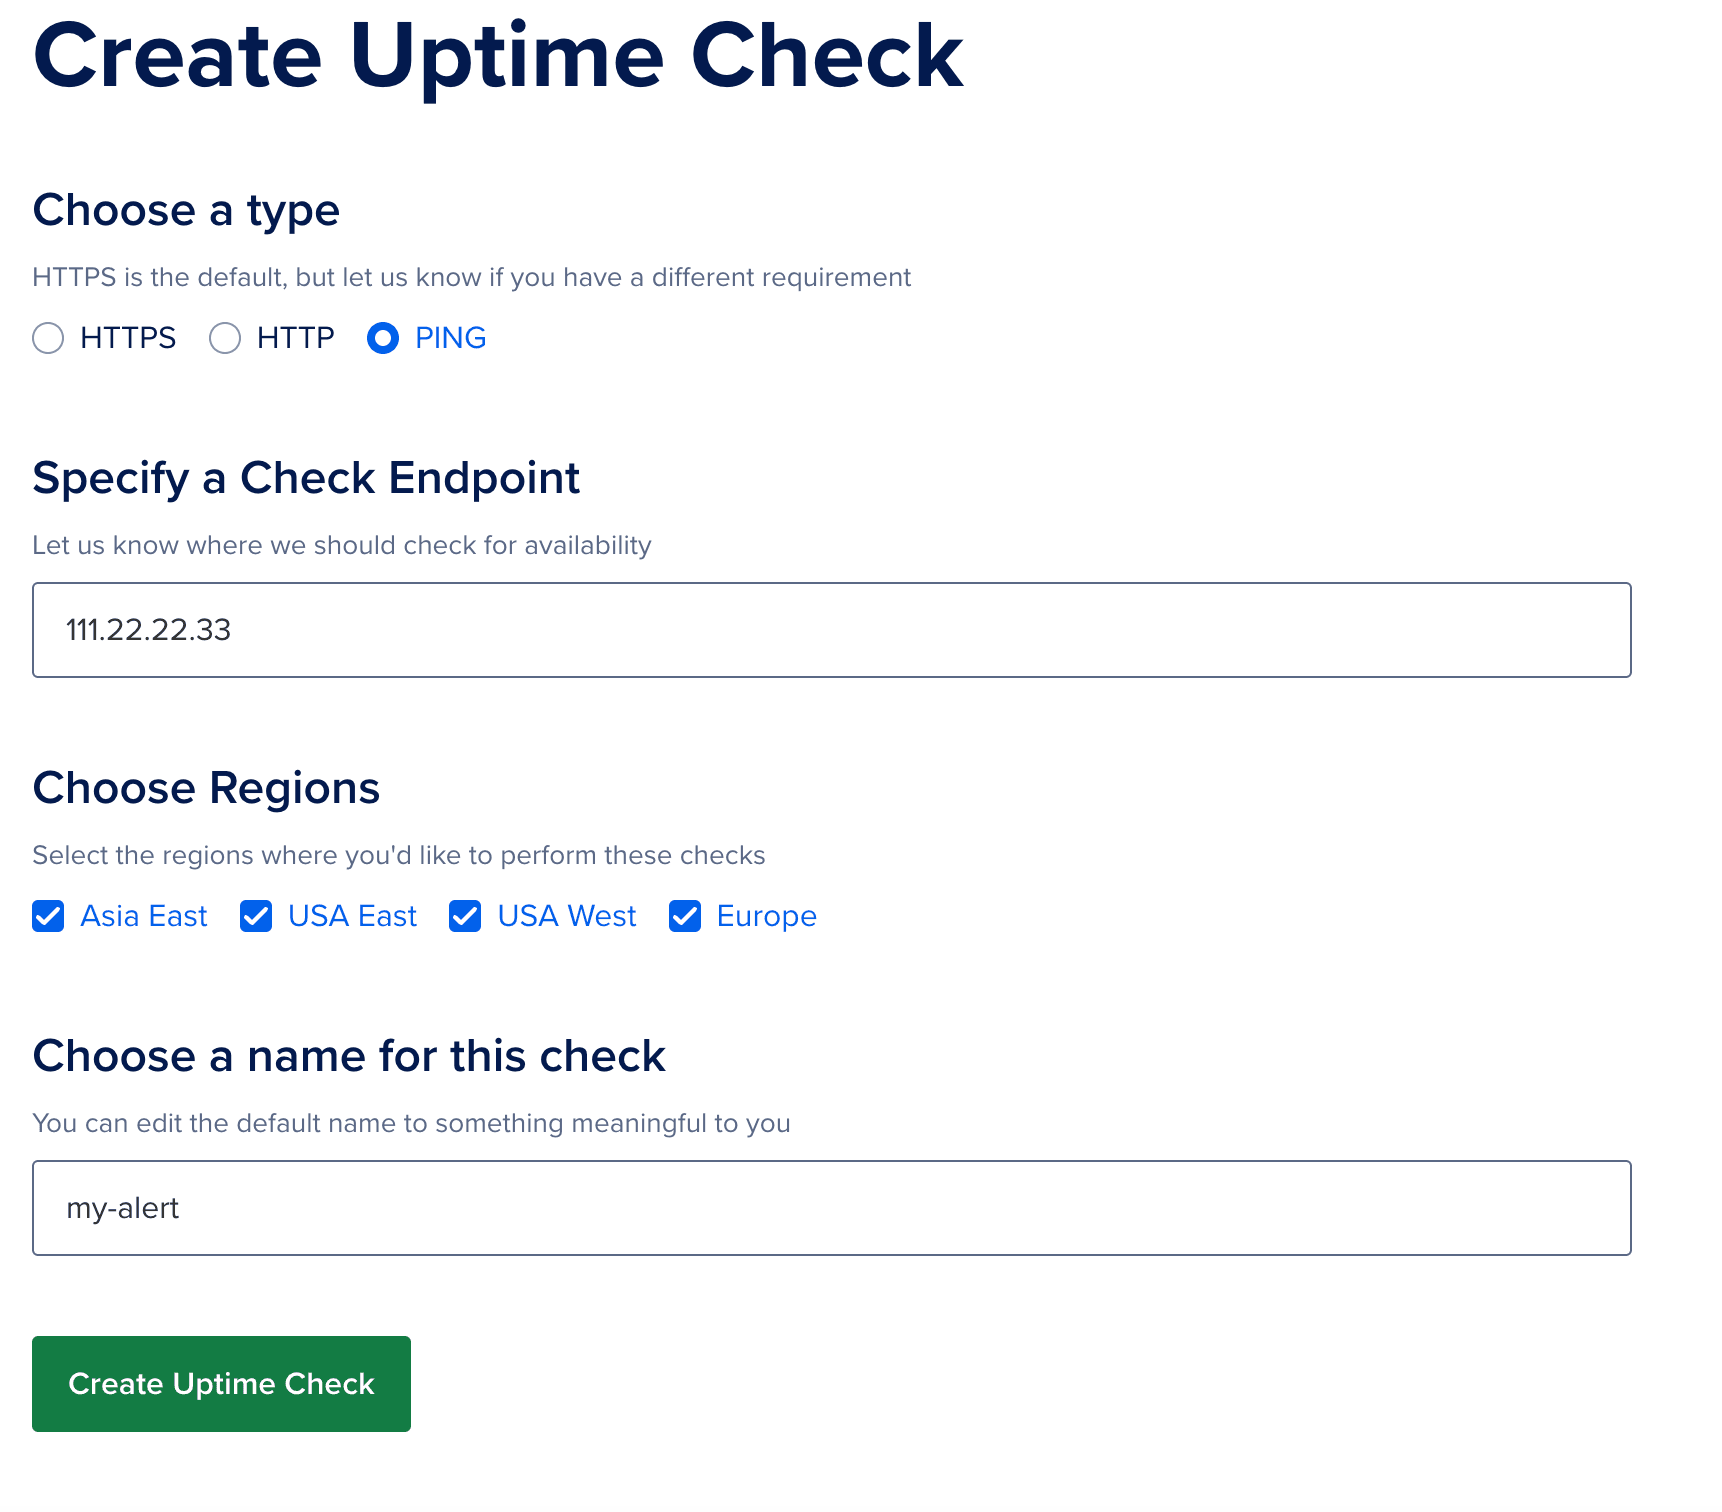
6. Setup an Uptime Check Alert
Let's set an alert to be informed if our VPS is suddenly down. On the left siderbar menu, click "Monitoring" then the "Uptime" tab. Select Ping alert and paste your droplet IP in the check endpoint field.
7. Boost Memory with Swap Space
This step is crucial, especially if you have limited RAM. A swap file will act as a memory buffer in case your server runs out of RAM.
sudo fallocate -l 2G /swapfile sudo chmod 600 /swapfile sudo mkswap /swapfile sudo swapon /swapfile echo '/swapfile none swap sw 0 0' | sudo tee -a /etc/fstab
This code sets up a 2GB swap file. Adjust the size (2G) if needed, it is recommended to use the same value than your RAM or twice its value.
I recommend reading this article to get into the nitty gritty details of swap configuration.
Congratulations!
Your DigitalOcean VPS is now much more resilient against threats and ready to run a live daemon to actively participate as a validator in a blockchain network!